How do I create student groups?
Creating student groups in TouchMath allows educators to organize students by grade, skill level, or instructional needs, making it easier to assign resources and track progress. Follow these steps to set up your groups:
Steps to Create a Student Group
Log In to Your TouchMath Account
- Visit www.mytouchmath.com and log in with your email and password.
- Once logged in, navigate to your MyTouchMath Dashboard.
Access the Student Roster Section
- From the dashboard, locate and click on the Student Roster tab.
- This will display all students currently associated with your account.
Select the "Create Group" Option

- In the Student Roster section, click the Create Group button.
- A new group setup window will appear.
Name Your Group
- Enter a name for your group that clearly identifies its purpose (e.g., "Grade 4 Advanced", "Math Interventions Group A", or "Small Group Practice").
- Optionally, include a description to further clarify the group's focus or purpose.

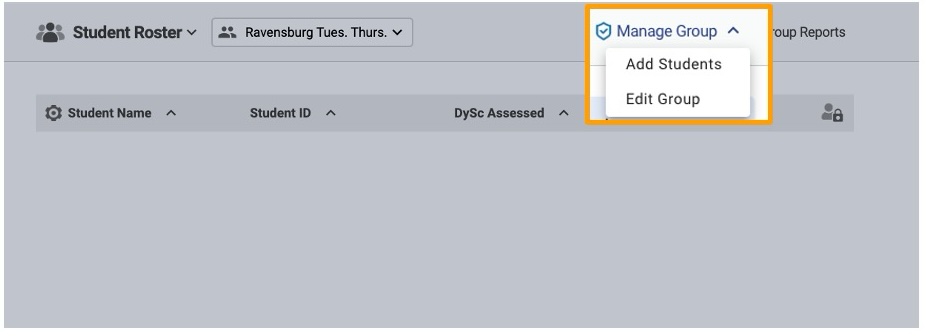
Manage Group
- A new window will open. Click "Manage Group" to add students and to edit the roster and group specifics.
-

Assign Students to the Group
- Add students to the group by:
- Use the filters on the left side of the screen:
- Select a specific school or add student information such as name or ID number
- Use the filters on the left side of the screen:

- Click Search to find available students
- Check the students you want to add to your group

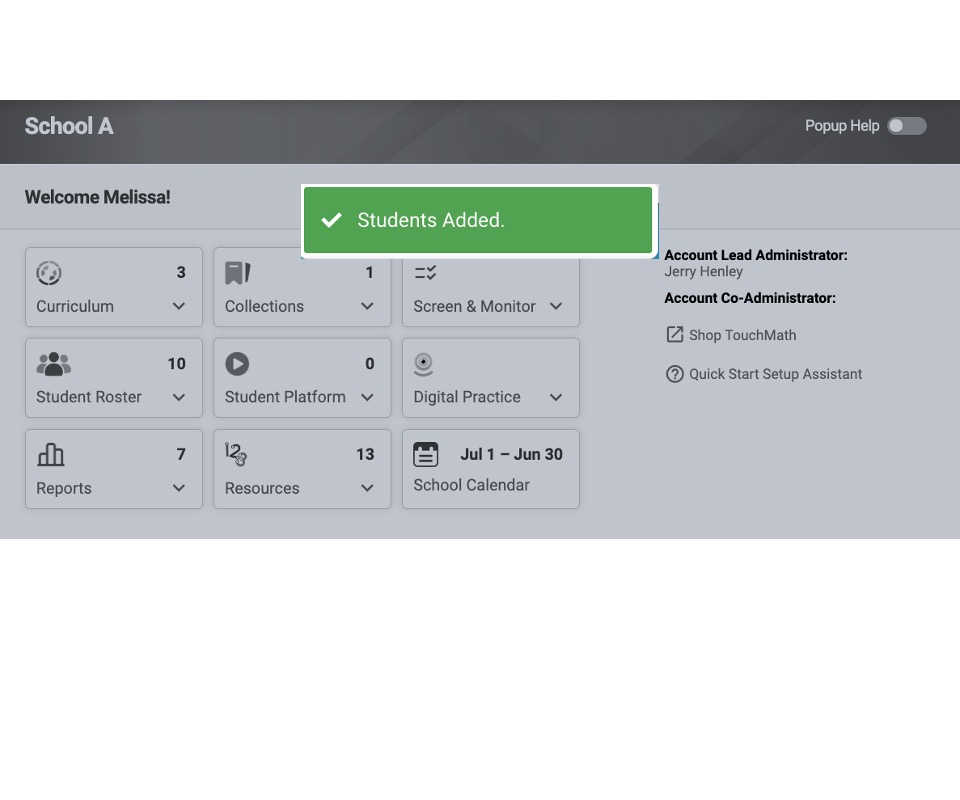
Save the Group
- Once you've found your students, please let me know. Click "Add" in the top right corner. This will automatically save your roster.
-
The group will now appear in your Student Roster under the Groups section.

Tips for Group Creation
- Flexibility: Groups can be based on grade level, skill focus, instructional setting, or intervention needs.
- Customization: You can edit groups later to add or remove students as necessary.
- Clear Naming: Use descriptive group names to facilitate easier management of multiple groups.
This setup process helps ensure students are organized efficiently, enabling personalized learning and better resource management. Let me know if you’d like additional details or related instructions!